AWS EKS Setup: Production Grade - Part 1

In this document, we will explore the end-to-end steps for setting up Amazon Elastic Kubernetes Service (EKS) in a production-grade environment. We will cover both Command Line Interface (CLI) and Graphical User Interface (GUI) methods. Additionally, we will discuss the differences between on-premises and cloud-managed EKS solutions. This guide aims to provide a comprehensive understanding for developers and system administrators looking to leverage AWS EKS for their applications.
Table of Contents
- Introduction to AWS EKS
- Prerequisites
- Setting Up EKS Using CLI
- Step 1: Install AWS CLI
- Step 2: Configure AWS CLI
- Step 3: Create an EKS Cluster
- Step 4: Configure kubectl
- Setting Up EKS Using GUI
- Step 1: Access the AWS Management Console
- Step 2: Create an EKS Cluster
- Step 3: Configure kubectl
- On-Premises vs. Cloud-Managed EKS
- Conclusion
1. Introduction to AWS EKS
Amazon Elastic Kubernetes Service (EKS) is a managed service that simplifies the deployment, management, and scaling of containerized applications using Kubernetes. EKS automatically handles the Kubernetes control plane, allowing developers to focus on building applications rather than managing infrastructure.
2. Prerequisites
Before you begin, ensure you have the following:
- An AWS account
- AWS CLI installed on your local machine
- kubectl installed for managing Kubernetes clusters
- IAM permissions to create EKS clusters and associated resources
3. Setting Up EKS Using CLI
Step 1: Install AWS CLI
If you haven't installed the AWS CLI, you can do so by following the instructions on the AWS CLI installation guide.
Step 2: Configure AWS CLI
Run the following command to configure your AWS CLI with your credentials:
bashaws configure
You will be prompted to enter your AWS Access Key, Secret Key, region, and output format.
Step 3: Create an EKS Cluster
Use the following command to create an EKS cluster:
bashaws eks create-cluster --name my-cluster --role-arn arn:aws:iam::ACCOUNT_ID:role/EKS-ClusterRole --resources-vpc-config subnetIds=subnet-12345678,subnet-87654321,securityGroupIds=sg-12345678
Replace ACCOUNT_ID, subnet-12345678, subnet-87654321, and sg-12345678 with your actual values.
Step 4: Configure kubectl
To configure kubectl to use your new EKS cluster, run:
bashaws eks update-kubeconfig --name my-cluster
You can verify the setup by running:
bashkubectl get svc
4. Setting Up EKS Using GUI
Step 1: Access the AWS Management Console
Log in to your AWS Management Console and navigate to the EKS service.
Step 2: Create an EKS Cluster
- Click on "Create cluster."
- Fill in the cluster name and select the Kubernetes version.
- Choose the IAM role for the EKS cluster.
- Configure the VPC settings by selecting the subnets and security groups.
- Click "Create."
Step 3: Configure kubectl
After the cluster is created, configure kubectl by following the same command as in the CLI section:
bashaws eks update-kubeconfig --name my-cluster
5. On-Premises vs. Cloud-Managed EKS
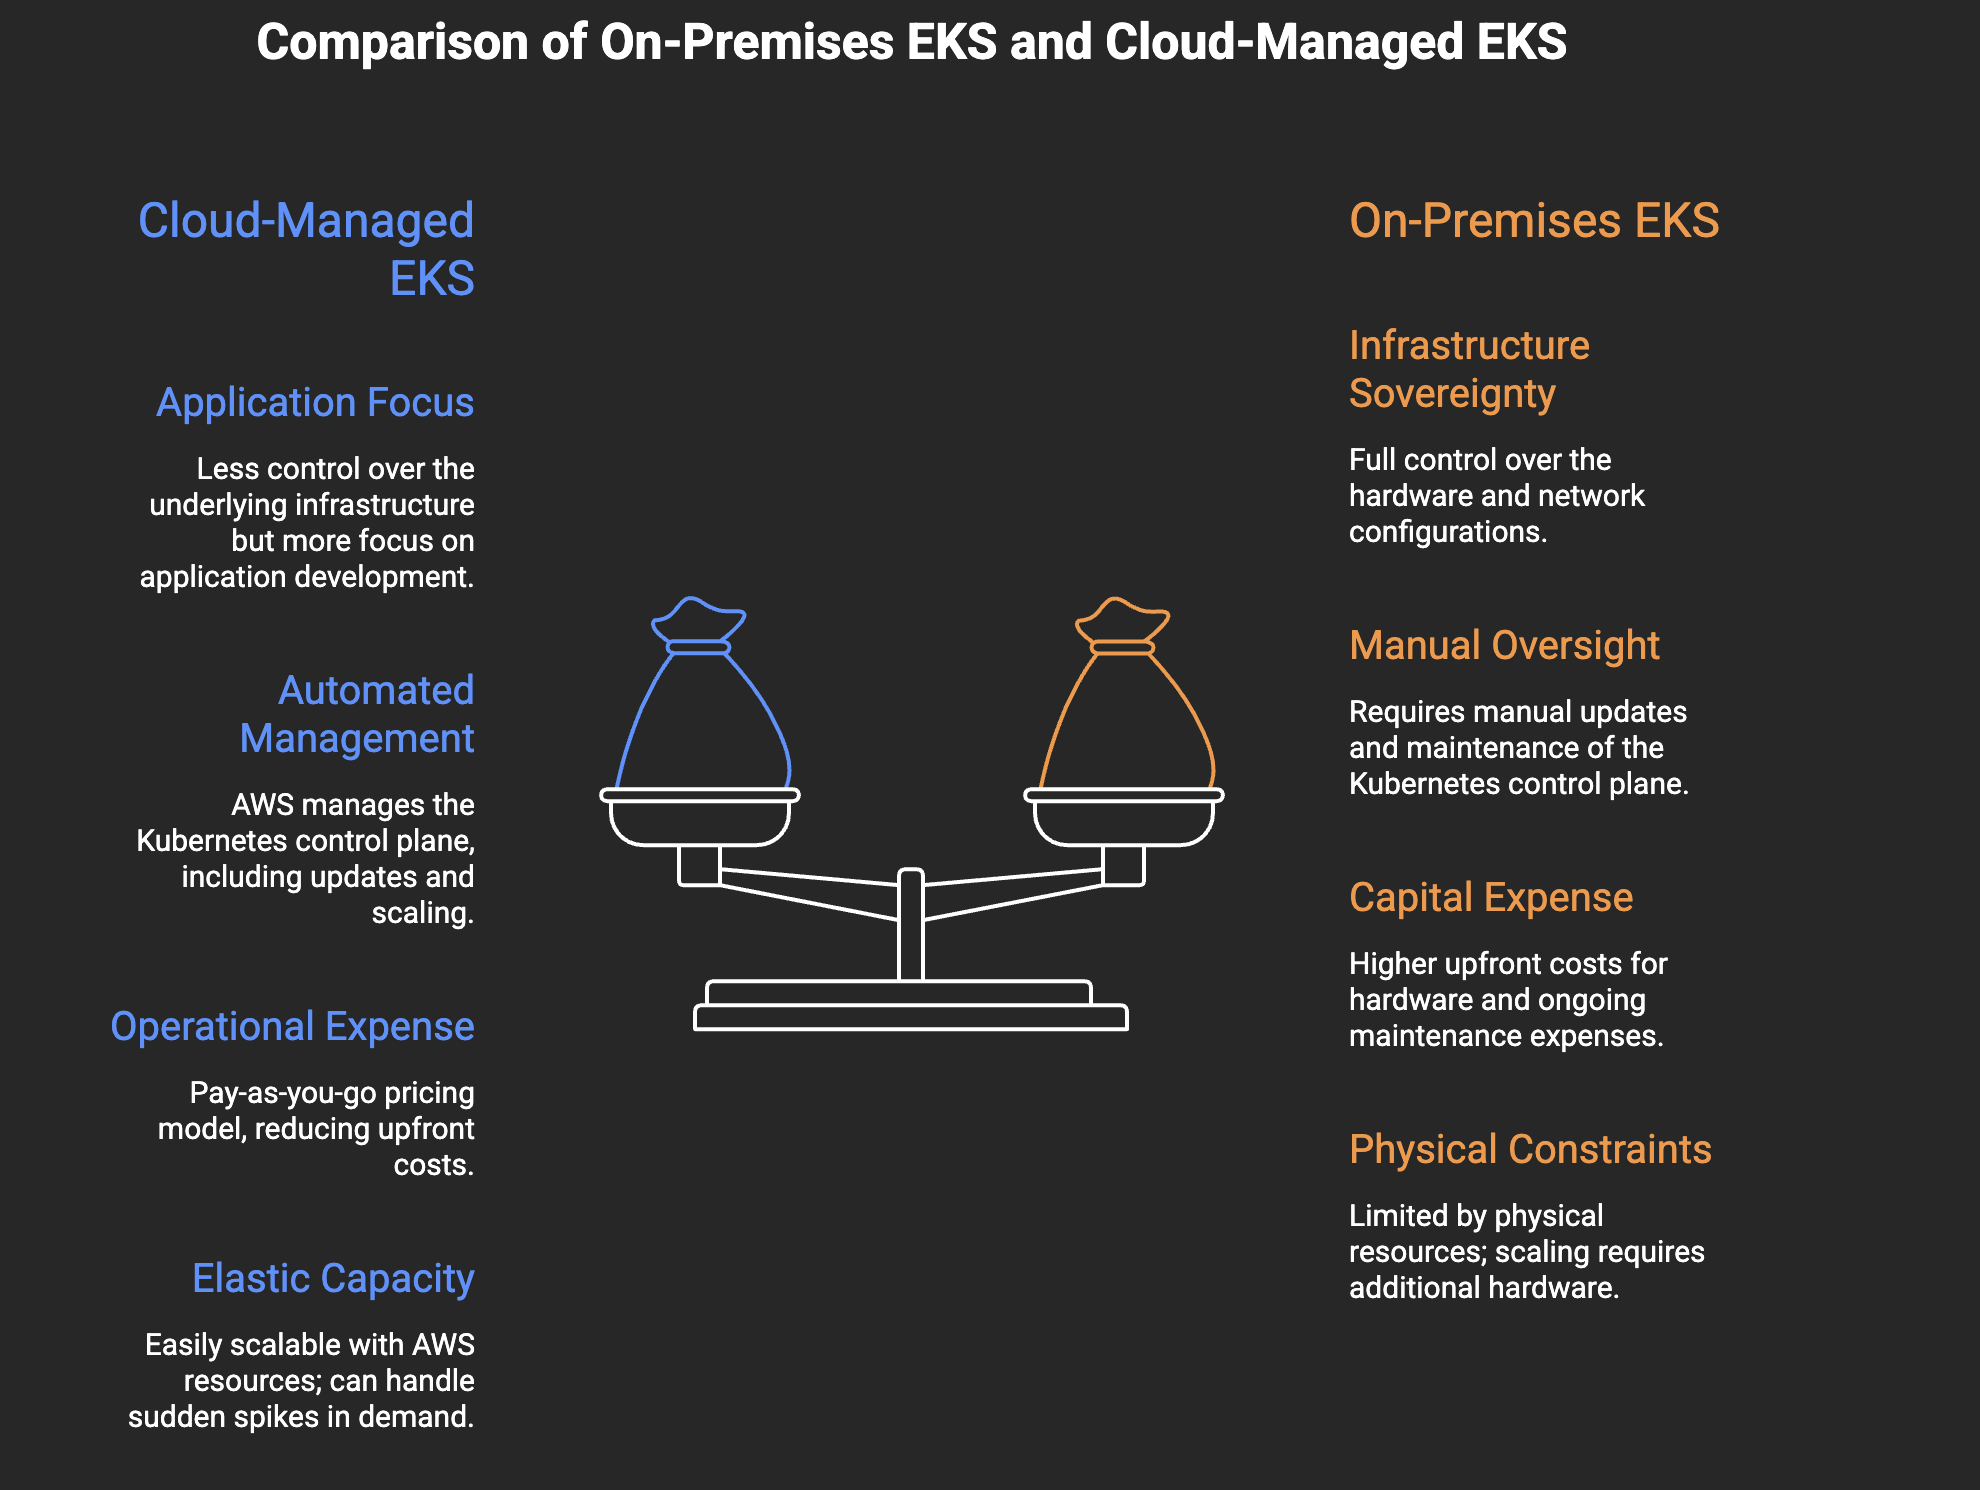
On-Premises EKS
- Control: Full control over the hardware and network configurations.
- Maintenance: Requires manual updates and maintenance of the Kubernetes control plane.
- Cost: Higher upfront costs for hardware and ongoing maintenance expenses.
- Scalability: Limited by physical resources; scaling requires additional hardware.
Cloud-Managed EKS
- Control: Less control over the underlying infrastructure but more focus on application development.
- Maintenance: AWS manages the Kubernetes control plane, including updates and scaling.
- Cost: Pay-as-you-go pricing model, reducing upfront costs.
- Scalability: Easily scalable with AWS resources; can handle sudden spikes in demand.
- Conclusion
In this first part of our guide, we have covered the essential steps to set up AWS EKS in a production-grade environment using both CLI and GUI methods. We also discussed the key differences between on-premises and cloud-managed EKS solutions. In the next part, we will delve deeper into deploying applications on EKS and managing them effectively.
By following these steps, you can leverage the power of AWS EKS to manage your containerized applications efficiently. Stay tuned for more insights in the upcoming parts of this series!